Getting started
This guide demonstrates how to start publishing web performance test results to Latency Lingo.
Input file
Latency Lingo depends on the results file generated by JMeter. Learn more about this file in the JMeter integration guide.
jmeter -n \
  -t test-plan.jmx \
  -l 20220810_test_results.csv
Support for other test runner result files is planned, but please reach out with your needs to help prioritize.
Install the CLI
The CLI is used to publish metrics from our test results file to Latency Lingo. CLI releases are available on the GitHub releases page.
For installation, simply download and extract the correct build for your operating system.
curl -L https://github.com/latency-lingo/cli/releases/latest/download/latency-lingo-cli_darwin_amd64.tar.gz \
  | tar -xz
note
Move the executable to a bin directory included in your path for easier access.
Publish your results file
The publish command is used to send metrics from a test results file to Latency Lingo. Arguments are documented in the CLI reference.
latency-lingo-cli publish \
  --file ./20220810_test_results.csv \
  --label "checkout flow"
  --api-key 05b6c656-006b-4107-991d-96a5a2a3227c
tip
Find your API key by signing up and viewing account settings.
The output logs will include a link to the created test run report.
Report can be found at https://latencylingo.com/test-runs/bdd8ce59-8c93-431f-aea9-d53d3ad03182
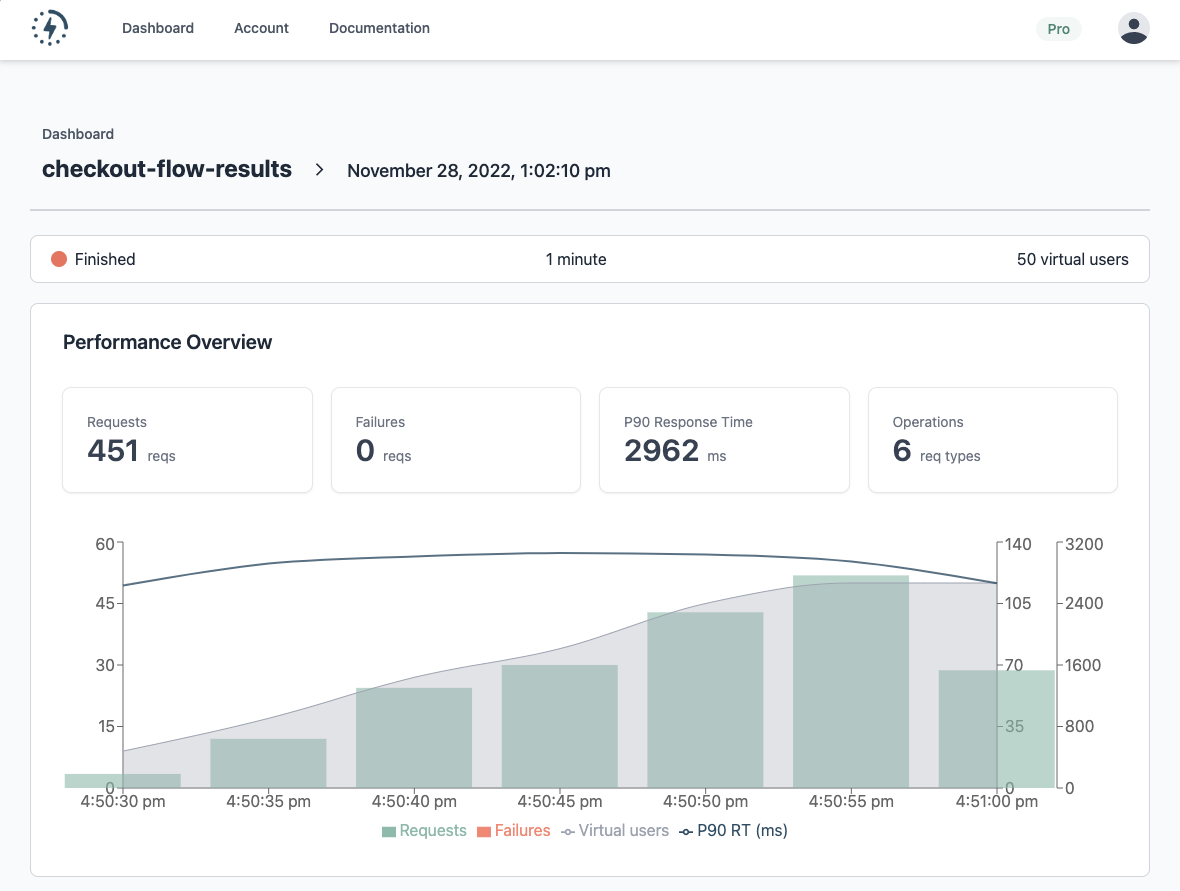
Congrats, you have just created a test run on Latency Lingo! Your team can view the report from your dashboard.